Building a Stand-Alone Raspberry Pi Dispatch Server
As part of my amateur radio hobby, I volunteer and provide communication support for a few events every year, the largest of which is the Wildflower Triathlon. Compared to most amateur radio communication support roles, the scale of Wildflower is pretty unprecedented with us having multiple active dispatchers on multiple repeaters handling calls at the same time. (Presentation on Wildflower)
One of the key pieces of technology which enables us to keep multiple dispatchers in sync with regards to what is going on is a system called Computer Aided Dispatch (CAD). Computer Aided Dispatch is a system which aids radio dispatchers by replacing what is typically local paper log sheets or even just a legal pad on the low end with a web application. This is powerful since it means that every dispatcher can see every log entry and incident ticket as it is entered in real-time, and logged to the web server, with automatic time-stamping, etc.
There are plenty of CAD software packages out there, and the open source option that comes up most often is TicketsCAD, but my impression is that it is a relatively complex system to configure and use, so for events like Wildflower where the CAD system is only deployed for a few hours to days, that complexity is burdensome. Most of our users have never interacted with a CAD system before, so simplicity on the user side is also an important motivator, so we use a very simple and clean CAD system called BlackFlower.
I don’t know the entire history of the BlackFlower CAD package, but in short, there was an overlap of staff between Wildflower and Burning Man in the early 2000s, and they decided to develop a CAD system specifically for these two events. Since then, those of us running Wildflower have ended up not being involved with the development of BlackFlower, but we still use the package and just don’t get hung up on it including Burning Man logos.
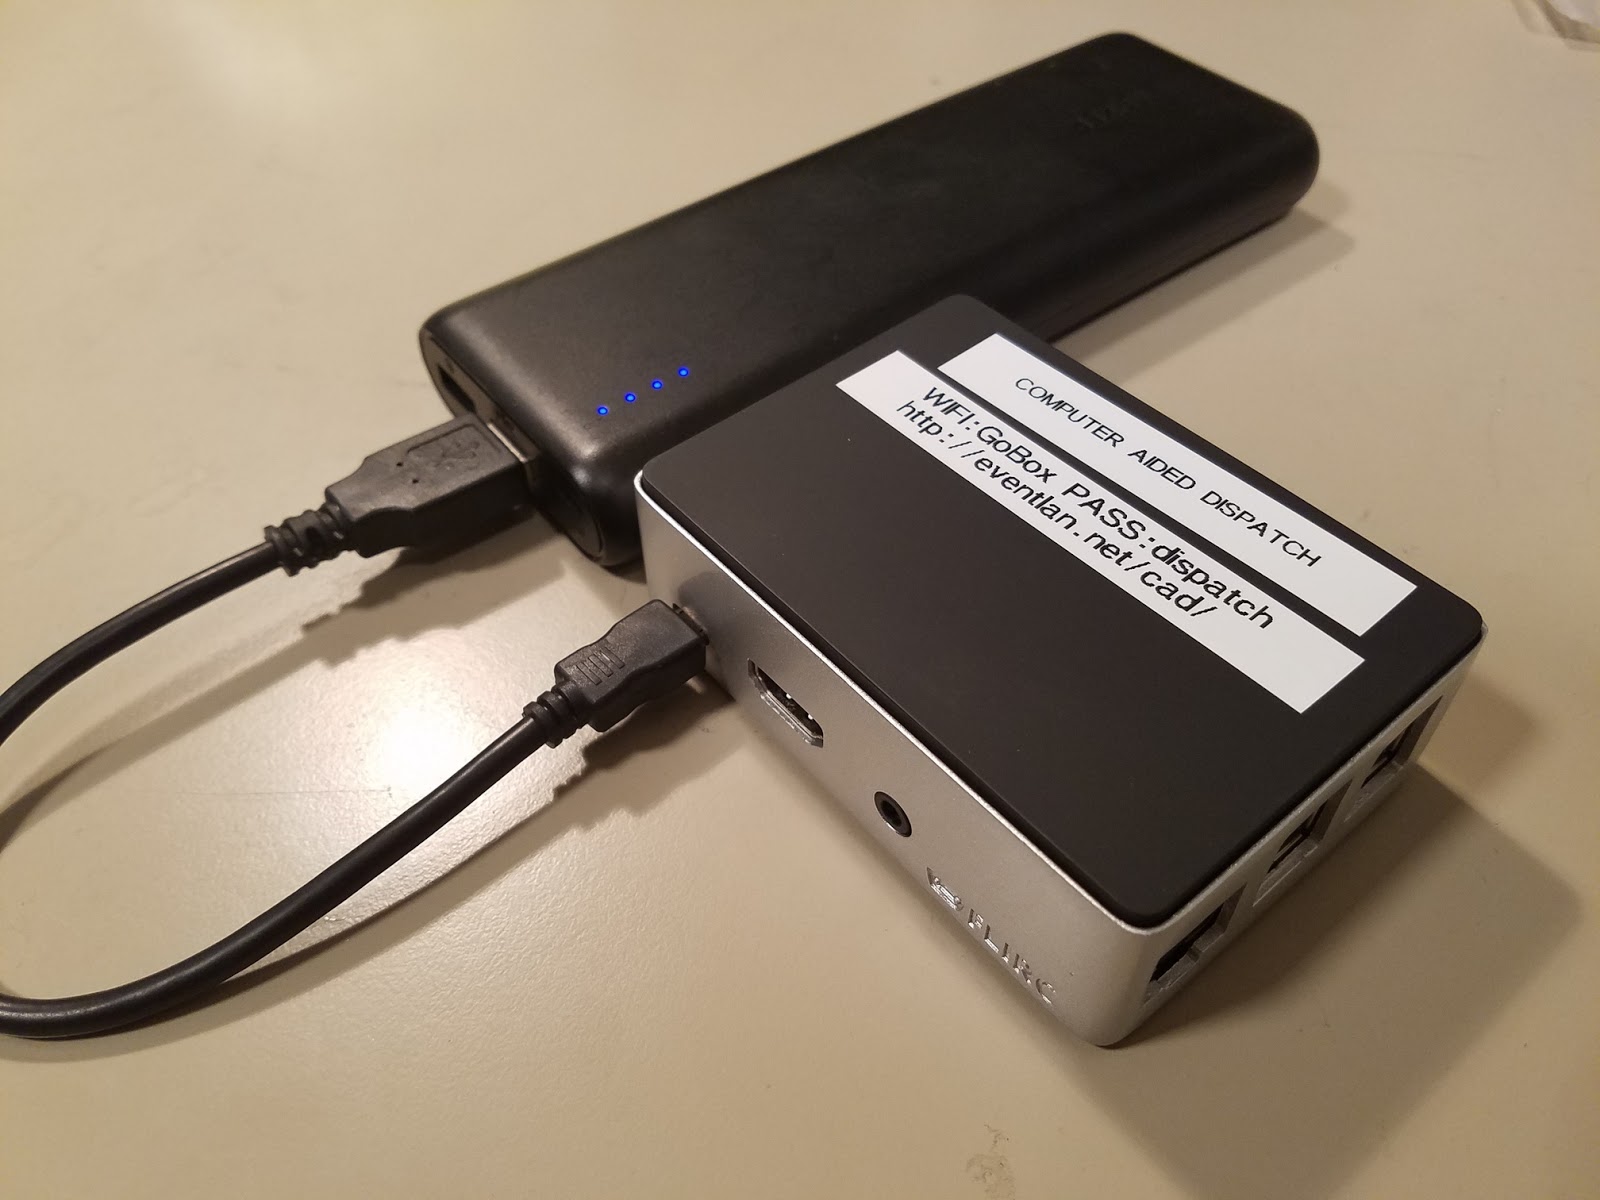
For smaller events, where we’re not spinning up a multi-seat dispatch center, the overhead of lugging a Linux server into the field is usually prohibitive, but I thought it would be interesting to see if I could build a minimum viable product using just a Raspberry Pi with some extra hardware to make it more suitable for getting pulled out of a box in the field and turned on for either training events or really really small events.
I’m still hesitant to actually recommend that you use this as a CAD system running off a microSD card in a Raspberry Pi for real events where you’re handling real medical calls. I see a CAD system running off a Raspberry Pi most interesting as a way to lower the barrier to entry for live demonstrations and drills for evaluation of the concept. Once an organization decides that they would want to rely on using CAD, I’d still recommend moving to a platform with more precedence for reliability than the Raspberry Pi (and things like a real hard drive and on-board RTC).
Bill of materials
- Raspberry Pi
- Real Time Clock (RTC) hat
- Raspberry Pi Case
- MicroSD card
- Power supply (AC or 12V or Battery Pack)
- USB cable
Installing Raspbian
Install Raspbian Lite (or full Raspbian if you want a GUI) per any of the guides available. My personal favorite is to just copy NOOBS onto an SD card and download Raspbian Lite from that on the Pi. Once installed and booted, you need to perform some of the configuration from the Pi itself with a monitor and keyboard since SSH is disabled by default. Once I get SSH set up, I typically switch to using the Pi headless and SSHing into it from one of my other systems, but all of this guide is doable from the Pi itself if you prefer. While having raspi-config open, I just do all of the needed changes on it on one go (disclaimer: raspi-config menus tends to change periodically, so you might have to wing it vs what I have here):
- Log in with username pi and the default password raspberry.
- Run sudo raspi-config
- 1 - Change User Password: Set it to something you're remember. This is your "pi" account for logging into Linux on the system
- 2 - Hostname: I set mine to gobox.
- 3 - Boot Options → B2 Wait for Network at Boot → No
- 4 - Localization Options: Set your locale, timezone, and Wi-Fi country code. I use en_US.UTF-8, America → Los Angeles, and US respectively.
- 5 - Interfacing Options: Enable SSH so we can log into Linux remotely and I2C for the Real Time Clock hat.
- 7 - Advanced Options → A3 Memory Split → 16 because we're about to unplug the monitor for the last time so why reserve more memory for the GPU? If you're using full Raspbian for a more user friendly Linux experience, you might not want to do this.
Set up and configure your RTC (Real Time Clock) hat following AdaFruit’s tutorial. This is so when the Raspberry Pi boots somewhere without an Internet connection, it can still know what day and time it is, instead of defaulting to Jan 1, 1970, which is what it does if you don’t set up an RTC hat. Since I’m using a DS3231 hat the line I ended up adding to my /boot/config.txt is “dtoverlay=i2c-rtc,ds3231”
Install software dependencies
Quality of life utilities that I install on every Linux system
sudo apt install vim dstat git screen
Basic LAMP Dependencies
sudo apt install apache2 php5 mysql-server mysql-client php5-mysql
Set a password for the root MySQL user and remember it.
This is the password to log into the MySQL server, and shouldn’t be confused with your Linux user password set earlier (except I just use the same one because why not; I’m the same admin for both)
BlackFlower dependencies
sudo apt install perl libnet-ssleay-perl openssl libauthen-pam-perl libpam-runtime libio-pty-perl python apt-show-versions
I also like to install a MySQL database management tool like phpmyadmin so I can reach into the BlackFlower database and tune a bunch of the options myself using a nice web frontend.
Be sure to tell it to auto reconfigure apache2 since that’s the web server we’re using. It will ask for the database root password you set two commands ago when you installed mysql-server sudo apt install phpmyadmin
We now have a web server up and running with phpmyadmin as a friendly MySQL frontend to manage databases (include blackflower’s) available at http://gobox/phpmyadmin/ (or whatever you set your hostname to)
Next up is installing blackflower, which consists of copying all the web assests into the web server folder (/var/www/html/ in Debian-based systems) and running the included bash script to load information into the blackflower config file and copy a blank database into MySQL. The official released tarballs for BlackFlower are available here, but there’s some issues with the official releases, so I actually maintain a mirror of those tarballs, plus a branch with my patches, on github. For this deployment I’m using my “fix12” branch, which is all my latest patches against the most-recent-as-of-this-writing v1.12.3pre1 release.
In these instructions, I’m copying the BlackFlower files into /var/www/html/cad/, so that the cad system will be available at http://hostname/cad/, which means the same web server can be used for other things, but if you want to use a different URL, just change the part after /var/www/html/.
Install BlackFlower
mkdir -p ~/src
cd ~/src
git clone https://github.com/PhirePhly/blackflower.git -b fix12

sudo mkdir -p /var/www/html/cad
sudo cp -r ~/src/blackflower/* ~/src/blackflower/.htaccess /var/www/html/cad/
sudo chown -R www-data:www-data /var/www/html/cad
Configure BlackFlower for the local environment
cd /var/www/html/cad
sudo bash ./initialize.sh
This initialize.sh script prompts you for all the information to access your MySQL server and what your main admin account name should be.
- Host for MySQL database: Accept default (localhost)
- Name of host to allow apps: Accept default (localhost)
- Enter MySQL admin password: whatever you entered during the apt install of mysql-server
- Enter database name to create for CAD: Enter something unique if you want to run multiple instances of BlackFlower on one system, but for stand-alone systems, the default is fine (cad)
- MySQL username: Accept default (cad)
- New password for this user: Enter something good
- Enter CAD administrator username: This is where we’re now talking about users inside the CAD system instead of MySQL users.
- The default is good (Administrator)
The Administrator user starts with the password “default-admin-pw”, but it will prompt you for a unique password once you log in. This is the password for just logging into the BlackFlower cad system, so depending on the scale of your event, you might want a unique password for the CAD admin vs the SQL admin vs Linux admin accounts, but I generally just use the same password for all three since our IT team is handling all computer systems at the same time.
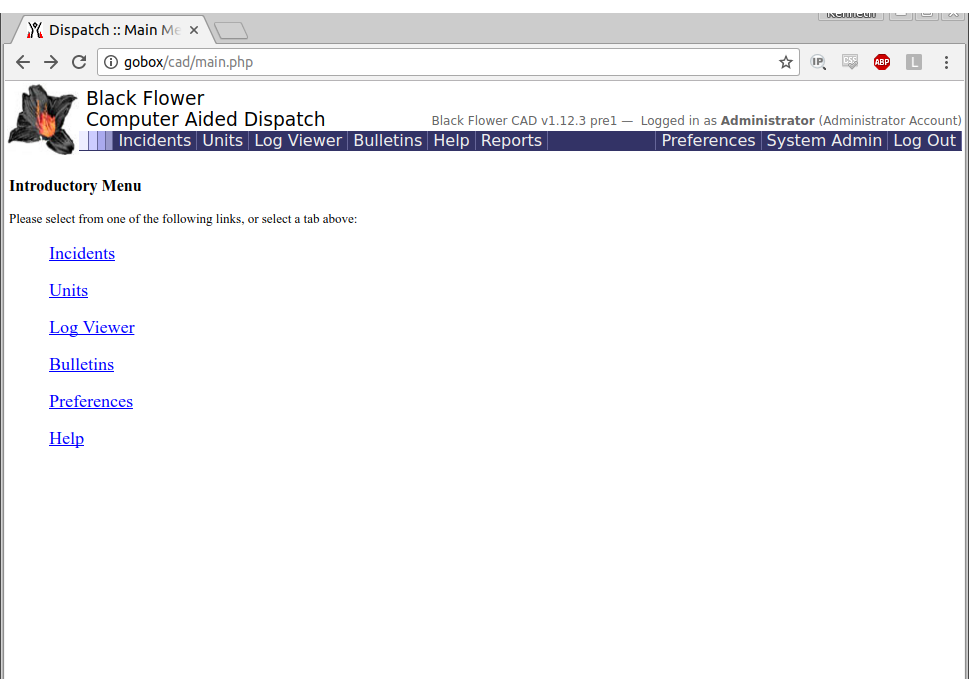
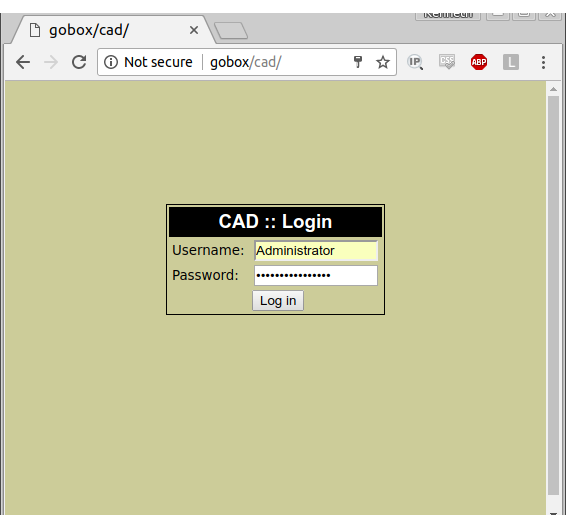
At this point, you should have a functional CAD server. If you’re only planning on using it from the local Raspberry Pi, or you’ve already got a functional LAN at your event to hang this server off of to make it available, you’re done. Point a browser at it, log in with “Administrator:default-admin-pw” and reset the password to something unique, load in units for your event, create lower level user accounts for your dispatchers, and you’re ready to run an event. Exact details for using BlackFlower as a CAD system and all the tricks / conventions we use for it deserves its own blog post, but even just using its event logger system can be a set up for an event vs a pad of paper. [Insert philosophical debate about the pros and cons of a computer based system vs the elegant simplicity of a legal pad here]
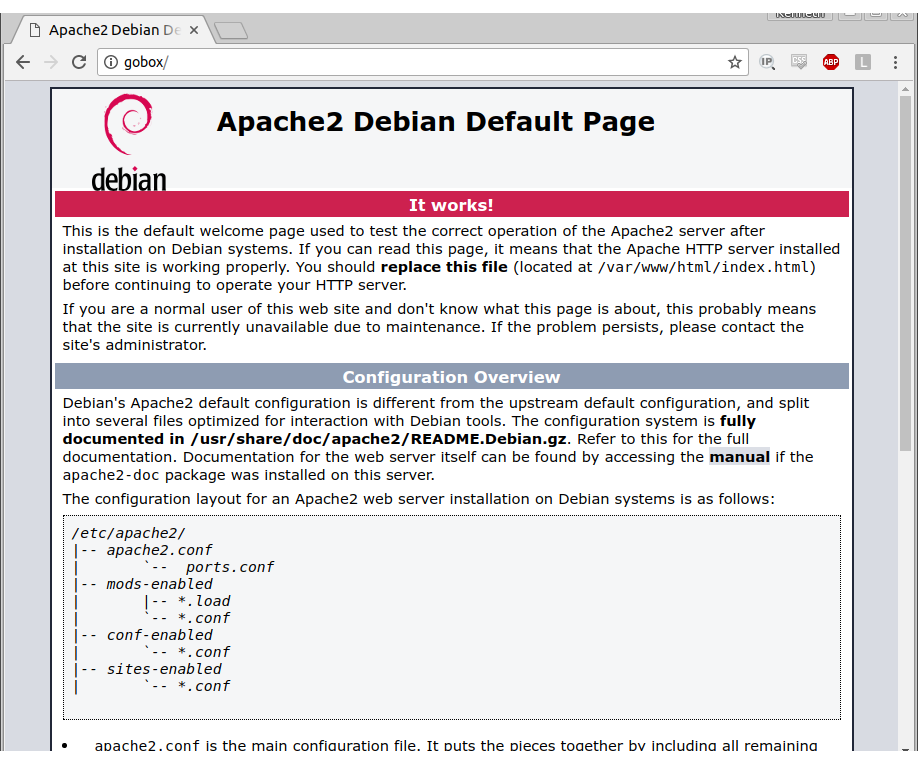
Note: The root http://hostname/ URL at this point still points to the default “Apache is alive!” index.html file in /var/www/html/. You probably want to replace that with some sort of homepage for the event LAN in case someone accidentally forgets to add the /cad/ to the end. I usually just have a list of bare links to the network resources for the event, which at the very least is the CAD server, the phpmyadmin page, and maybe a folder of files like a PDF of the event map.
Note: The BlackFlower documentation also says this, but it’s worth mentioning that this is just a small CRUD webapp built by a few guys volunteering for an event, so don’t expect BlackFlower to be particularly hardened against adversarial attackers, so exposing an instance of it to the whole Internet or even just the event’s free WiFi may be a bad idea. Every event should distinguish between the trusted and the untrusted parts of their network, and this server should be sitting squarely in one of the trusted subnets.
WiFi Access Point
So this running CAD server plus a consumer grade router/AP like the classic WRT54GL or a newer router like my favorite the Asus 66U, and you have a reasonable CAD system. But we can still go deeper! What if we didn’t need a separate WiFi access point and instead used the WiFi chipset on the Raspberry Pi itself?
The official documentation for setting up the Pi as an access point is pretty good, and I followed it up until setting up the bridge between WiFi and the Ethernet interface, since I don’t need that and I’m most interested in just using it as a stand-alone offline server with no Internet connection, but your exact requirements for this server being a DHCP server or client on either WiFi or Ethernet and bridging vs routing between them will of course vary.
The way I have it set up, anything that connects to the Pi’s WiFi AP will be issued an IP address and can reach the CAD server, but with no Internet access or routing for the clients. The Pi’s Ethernet port will still request a DHCP lease from another router, so plugging it into any existing network will still work as usual. With a little more effort, I could at least set it up so that if the Pi had Internet via its Ethernet port, it could share it with any WiFi clients. There’s plenty of good tutorials for building your own Linux-based router online, which is what you’d be doing at that point.
I was a little more assertive than the guide to get local DNS working, and picked a more distinctive subnet than 192.168.0.0/24, since 192.168.0.0 and 192.168.1.0 are two subnets which tend to already be used in places.
- Raspberry Pi wlan0 IP: 10.44.4.1/24
- Local domain: eventlan.net
- WiFi SSID: "GoBox" with password "dispatch"
- Update the /etc/hosts file so gobox correctly resolves to 10.44.4.1 for other clients instead of 127.0.1.1, which is the default in Raspbian.
dnsmask.conf
# /etc/dnsmasq.conf

# Specify what the local domain is
local=/eventlan.net/
domain=eventlan.net

# Hardcode the LAN domain to point at the CAD server
address=/eventlan.net/10.44.4.1

# Bind to the wlan0 interface specifically
interface=wlan0

# Expand bare hostnames to hostname.eventlan.net
expand-hosts

# Specify the range of IP addressses to give out and for how long
dhcp-range=10.44.4.100,10.44.4.199,20m
hostapd.conf
interface=wlan0
driver=nl80211
ssid=GoBox
hw_mode=g
channel=1
wmm_enabled=0
macaddr_acl=0
auth_algs=1
ignore_broadcast_ssid=0
wpa=2
wpa_passphrase=dispatch
wpa_key_mgmt=WPA-PSK
wpa_pairwise=TKIP
rsn_pairwise=CCMP
/etc/hosts
127.0.0.1	localhost
::1		localhost ip6-localhost ip6-loopback
ff02::1		ip6-allnodes
ff02::2		ip6-allrouters

10.44.4.1	gobox
/etc/network/interfaces
auto lo
iface lo inet loopback

iface eth0 inet manual

allow-hotplug wlan0
iface wlan0 inet static
    address 10.44.4.1
    netmask 255.255.255.0
    network 10.44.4.0
So now we really have an entirely stand-alone box that lets you power it up, connect from a few laptops, point their browsers at http://eventlan.net/cad/, and you’re up and running.</div>