How to Replace 62 Railroad Ties in a Day
In case you’ve missed every one of my blog posts since this quarter started, the theme this year has been fun with electronics. However great this theme is (the correct answer is “very”), I felt like this weekend solicited a change.
Thursday I muscled my way through my last engineering midterm for the quarter, and decided that to celebrate, this weekend I would give my actual major (Mechanical engineering. Who knew, right?) the tender love and care that it so deserves. So now the question becomes, “what to do?”
Luck would have it that this weekend happened to be a track work weekend at the Western Railway Museum, and what’s more fun than riding on a piece of maintenance of way rail equipment out into the middle of the Central Valley on the old Sacramento Northern line to work your ass off for 8 hours?
Replacing Railroad Ties
Railroad ties are typically heavy pieces of lumber, which the rails are spiked to, to hold the track at the right width and help distribute the weight of trains onto the ground. Unfortunately, wood has this wonderful habit of decomposing, so ties eventually have to be replaced with new ones, which is what we happened to be doing this weekend.
Replacing ties is normally a lot of work. You’re literally trying to remove a large piece of old wood from underneath an obscenely heavy ribbon of steel, shove a new large piece of wood under, and then drive four half inch spikes into each one with a sledgehammer. Lucky for us, the WRM track crew has a nice collection of equipment to make our lives easier.
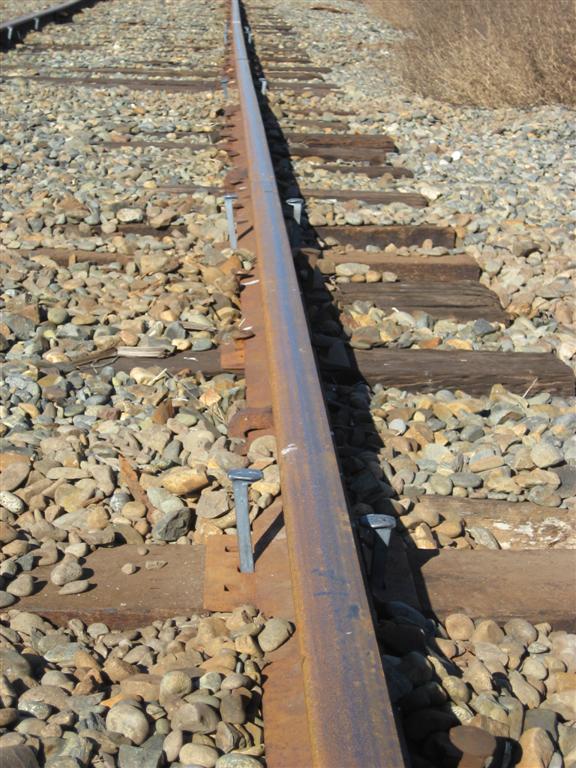
First pull out all the spikes driven into the old tie. This is usually pretty easy, since the ties we’re replacing aren’t far from being something you’d call tanbark, and you use a claw bar, which is a 5 foot long crowbar. Our track is so bad, several of the spikes have rusted almost completely through as well, making this job even easier.
Next comes pulling out the old tie and inserting the new. We have a machine creatively called a tie inserter, which does pretty much what the name implies. It yanks out the old tie, we shovel out whats left of it, manually line up the new tie, and then the tie inserter comes back and shoves the new one in. In this video, you can see the inserter inserting new ties, while the rest of the guys line up the next few in front of it.
Once the new tie is in, it’s time to reassemble the track on top of it. Tie plates, which are flat pieces of steel about 8 inches on a side that the rail sits on so as to not crush the wood underneath, need to be placed underneath the rail. If you’re lucky, they’ll slide in. If not, you need another guy to pry the rail up with a claw bar, and hope like hell he doesn’t slip with your fingers in an unfortunate position.
Now you’re almost ready to start driving spikes, but before you do, you want to be sure the new ties are stable in the ballast. Ballast consists of large, loose rock, so you need to compress it underneath the new ties. Quite a big job, usually, but not as bad when you can just use a ballast tamper instead. These things are a sight to be seen. Ours has four giant vibrating claws that plunge into the rock and then squeeze it underneath the tie to form a stable support for the rail. Ahead of the tamper, we shovel extra gravel onto the ties, and in the video you can see him dropping spikes out of the cab to be driven later.
Once the ballast is compacted, all that’s left is driving the spikes to hold the track in place. This is the hardest part of the entire project, even with our power tools.
The spikes need to be started into the ties manually, which for 62 ties x 4 spikes per tie gets pretty tiring. I’ll be the first to admit I couldn’t keep up with the other guys on this, so I opted for assisting driving them the rest of the way with the spike driver once I got tired. The spike driver is a cantilevered jackhammer so that it’s easy to move from spike to spike to drive them the rest of the way in. The hammer and compressor are on a track which lets the entire assembly move from side to side, which requires a second operator to guide it from the back.
Note that one of the plate bolts broke at the end of this video, but luckily we were able to limp through the rest of the ties. We did discover that the compressor is metric when we needed to open one of the panels to get it started after it backfired later. I’ll let you guess if we happened to have a metric set of sockets out in the middle of nowhere. We had the museum send out a metric tool box on the next trolley, which dropped it off at our red flag, so we only had to haul it 100 yards, instead of 3 miles.
Once the spikes are driven, you’re done. We worked a solid seven hours on Saturday, and managed to install all 62 ties we had left. This brought the total for the year to 425, which passes our goal of 400. You’ll notice in all my videos that we only replaced every other tie in the bad places, so we’ve still got plenty of work for next season.