Switching with a Vacuum Tube
WARNING: This is a bad idea. Prototyping with 170VDC is horrible. Never work on a live circuit, and always have protective fuses. I blew several fuses while working on this.
This summer, I managed to get my hands on several miniature vacuum tubes at a good price, and have been rolling around the idea of playing with them. One of my friends and I were hanging out last night with little better to do, so I decided to see if I could wire one up to use it to switch on and off an LED.
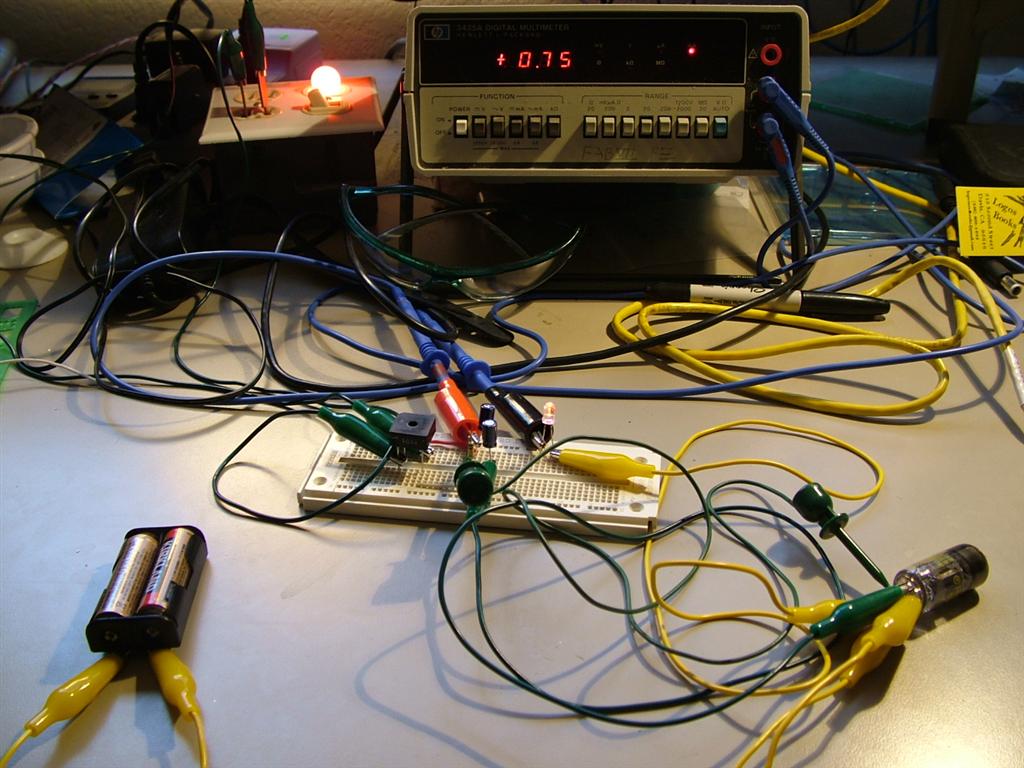
It worked! I applied 170V to the plate of the pentode, and 3V to the heater, and applying 170V to the middle grid allowed me to turn on and off the LED with 1-3mA. I tried connecting the other grids positively as well, but this caused a significant amount of current to flow through the tube and blew the LED.
For the record, I do not know what I’m doing here. I managed to destroy two tubes, an LED, and two 2A fuses. On the bright side, I never shocked myself, which is the important part.
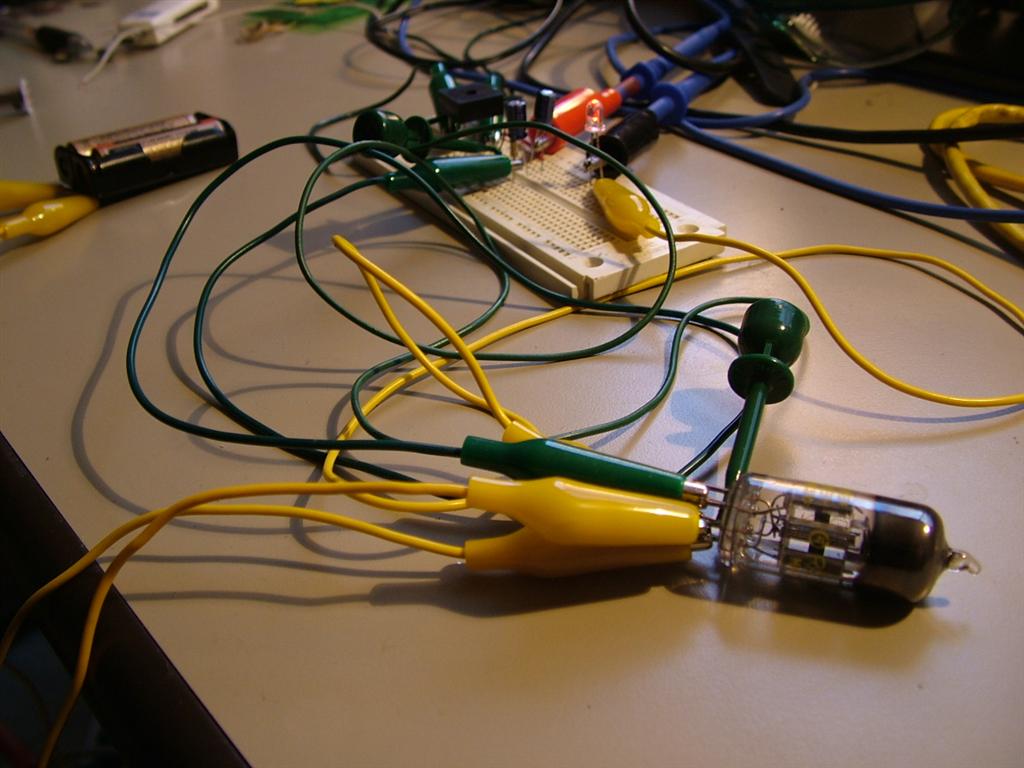
Close-up of the connections on the tube. Note that everything is either isolated from ground, or fused such that a short on these connections does no real damage. The tubes were all 6x6 types, with the final one being a 6CF6. The others had metal shrouds around them, but once I killed one of them (arced grid to cathode), I broke it open for your enjoyment.
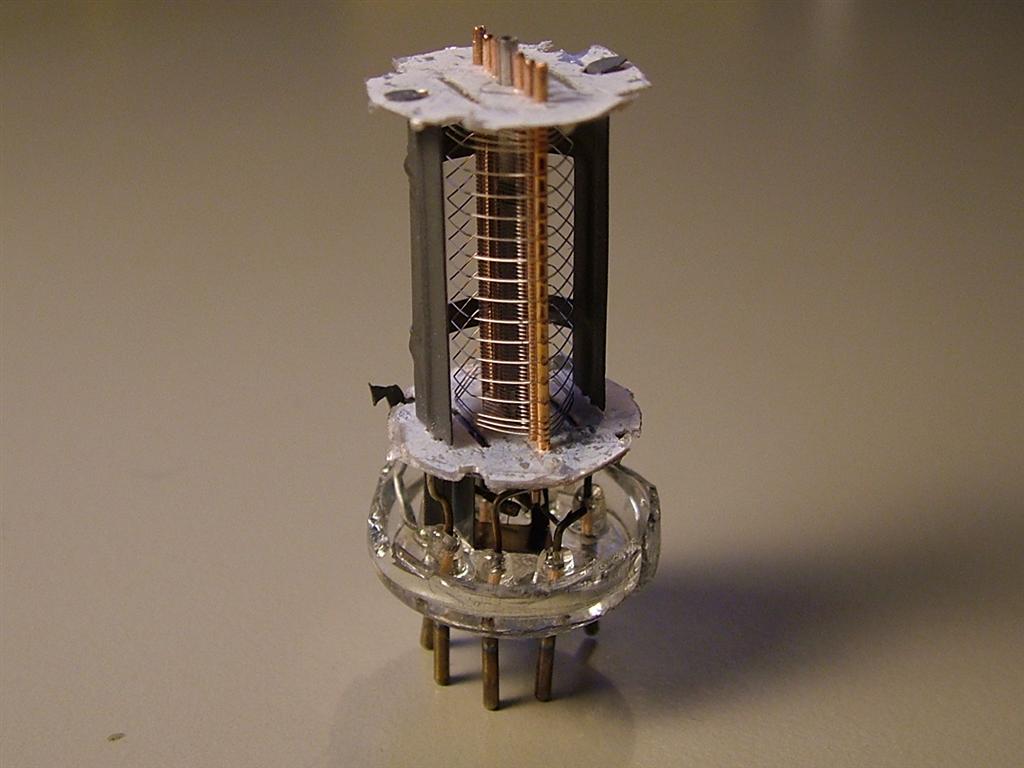
Vacuum tube broken open with the shroud removed. The solid plates along the outside are the plates, which catch the electrons. Inside of that is three coils of wire to control the electron flow, and finally the heated cathode in the center, which ejects the electrons.
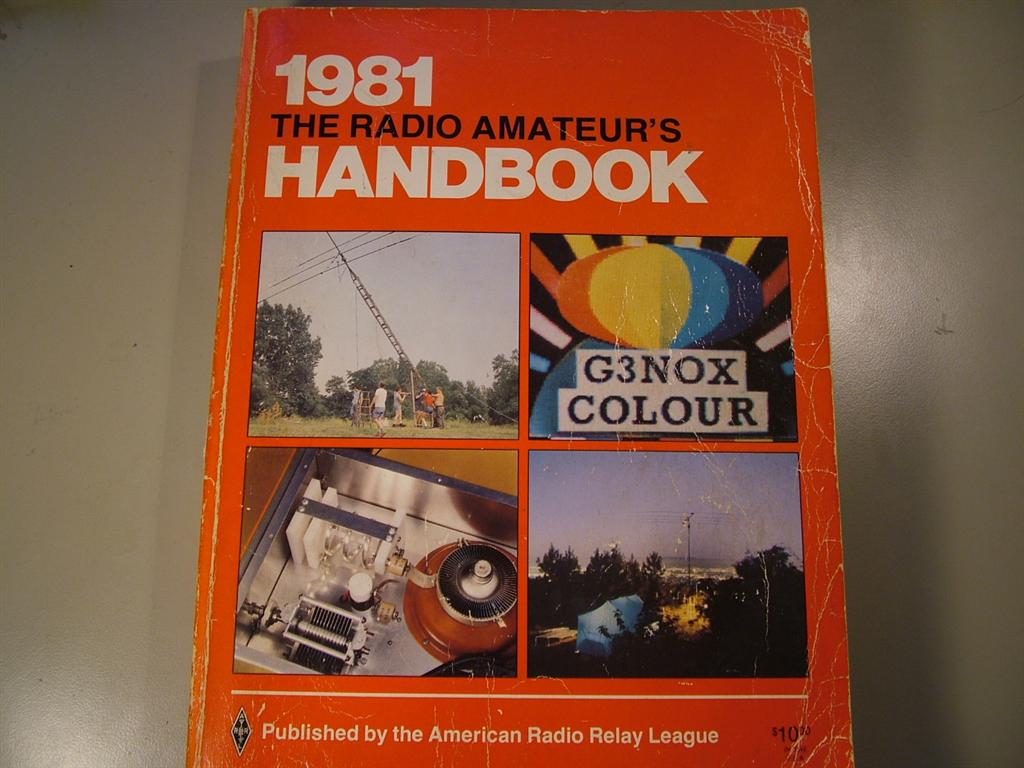
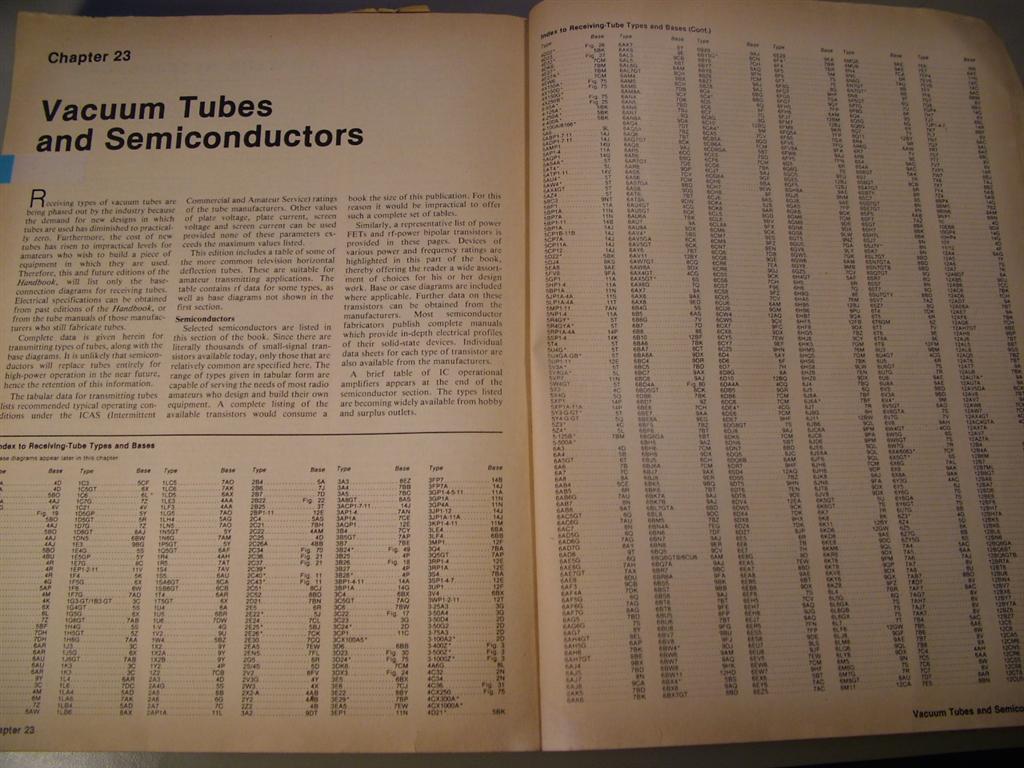
Finding information on the tubes was challenging online, but luckily I bought an older (1981) edition of the ARRL Handbook on eBay, since the older editions tend to be more interesting from a builder’s perspective. The older editions also have significantly more information about vacuum tubes in them. Where the modern book only has 3 columns of tube listings and half a page of bases, the older edition had 14 pages of vacuum tube listings.
Finding the pinout of a vacuum tube is a two step process. On the side of the tube is a part number; for example, the tube I randomly picked out of the box and used was a 6CF6. Once you know what tube you have, you look up the base type for it:
This goes on for four pages…
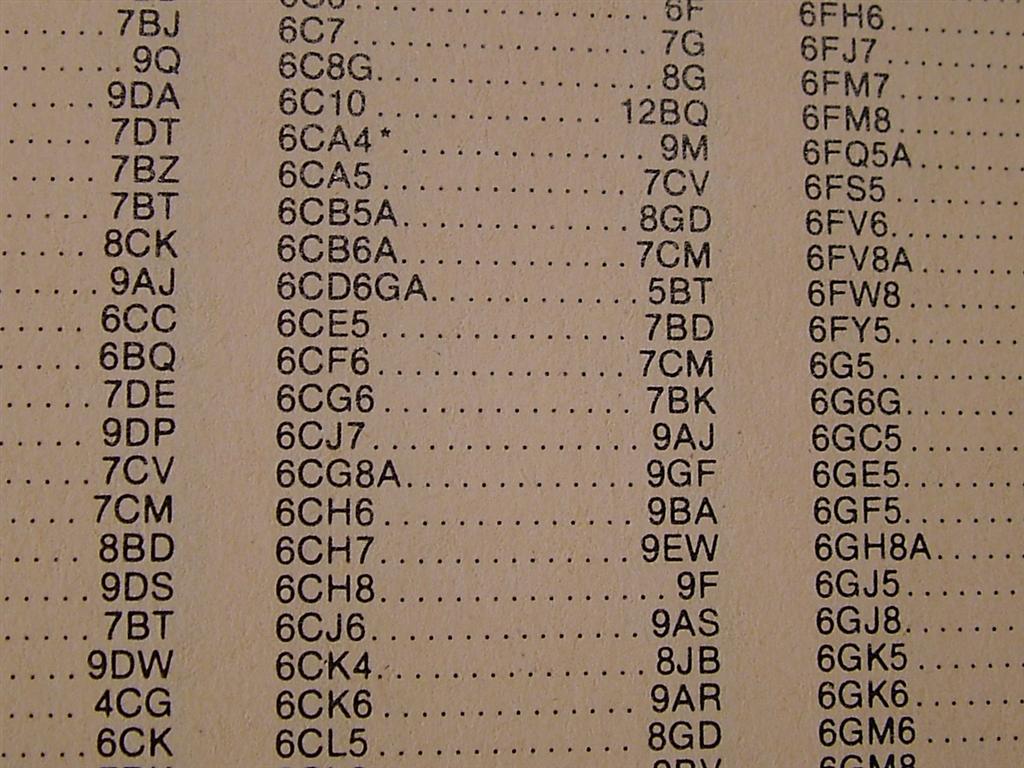
As you can see, the 6CF6 has a 7CM base.
Once you know the base type, you then look that up in another table to get the final pinout.
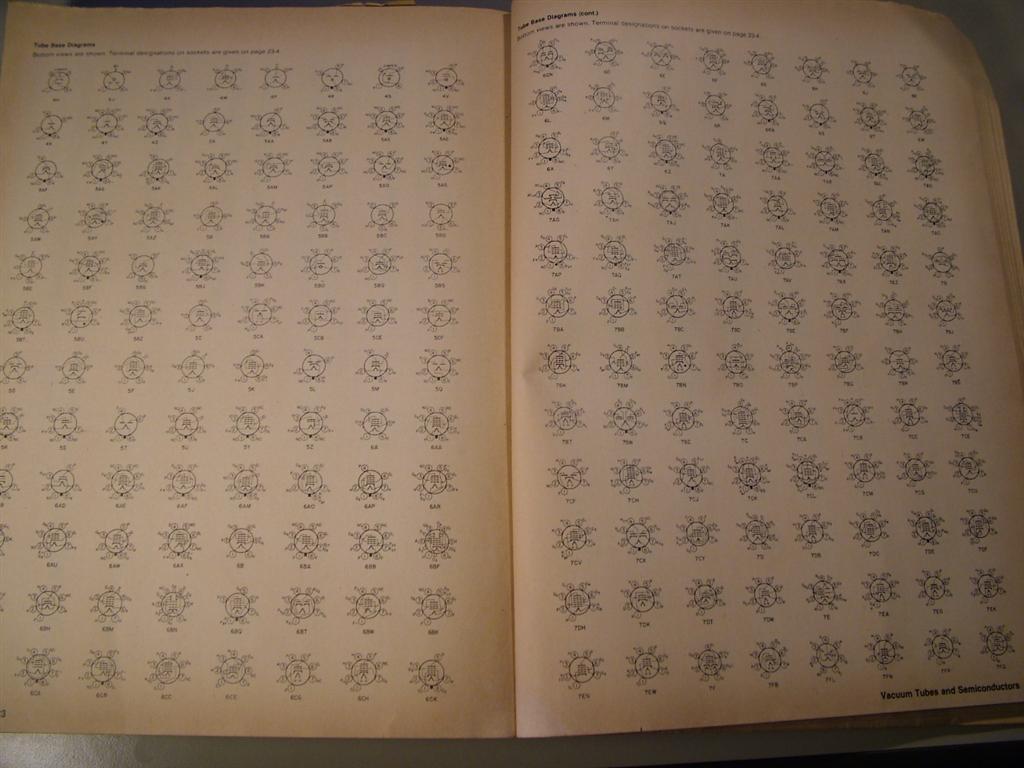
This goes on for seven pages! I guess them all having the same pinout would’ve been too easy…
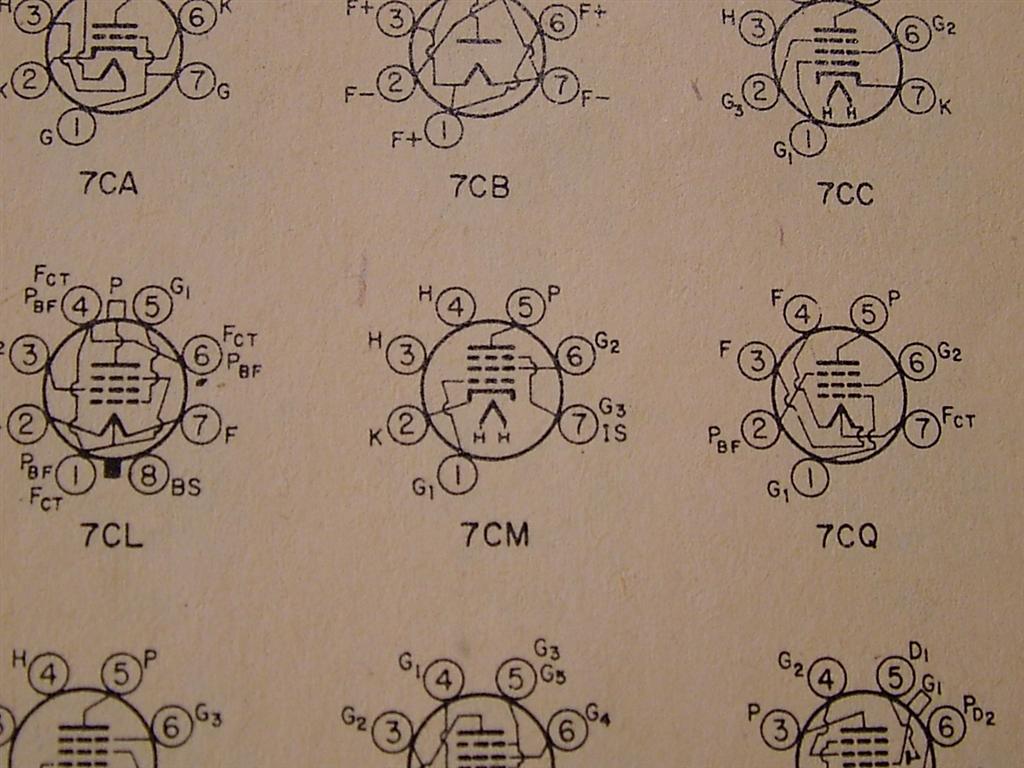
And here is shown the 7CM base. Looking from the bottom of the tube, clockwise from the gap is Grid 1, Cathode, Heater, Heater, Plate, Grid 2, and Grid 3. I left grid 1 and grid 3 unconnected, treating this tube like a really poor triode. I won’t begin to try and explain the difference between the three grids and their uses, since this has been covered quite well online by people who actually know what they’re talking about.
I’ll say it again: Don’t do this. I did this last night because I was bored, and that’s really a bad excuse. It was fun to see an LED lit by electrons flying through the air (I also lit a Neon tube with it later), but the risk of electrocution from 170V is very high. I’ve been collecting tubes and older electronics books recently (Some of the books are quite quaint, having not yet started using such units as picofarads and Hertz, opting instead for the micromicroFarad and the cycle.), so I very well might end up doing something with this in the future, but for now I’ll suggest we all stick to 5V and don’t die.