Repairing a Broken Panel Amp Meter
I have always been a sucker for vintage aesthetic. Unfortunately, this means that many things I want are either prohibitively expensive on a college budget, or in one way or another broken. Analog panel meters are one of these things.
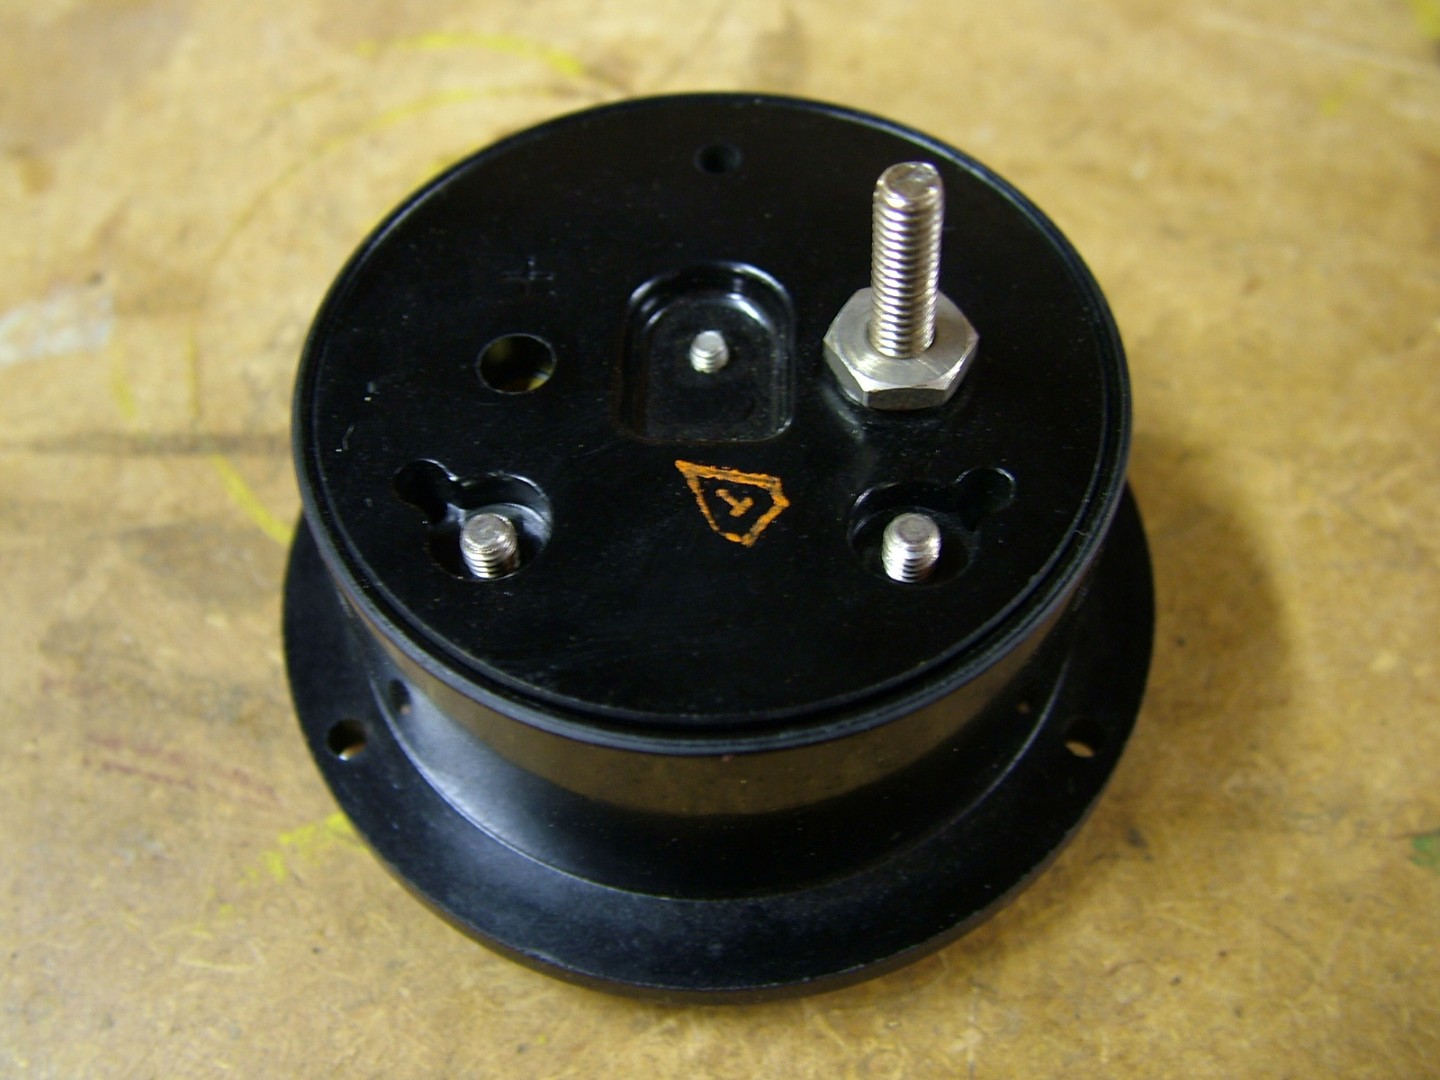
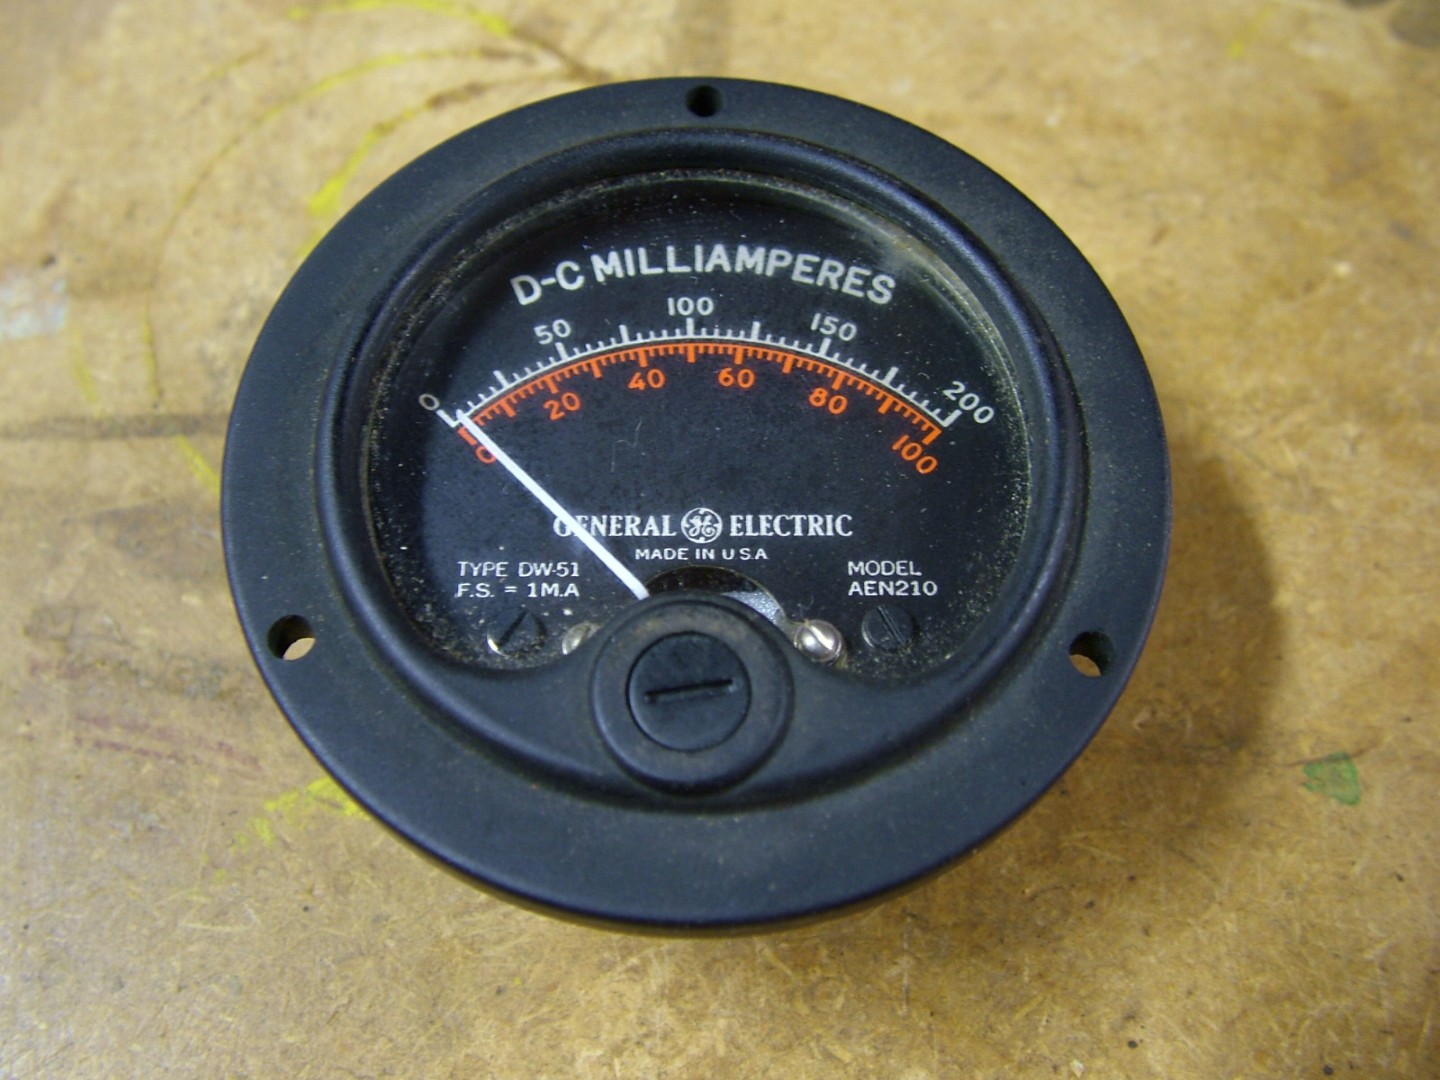
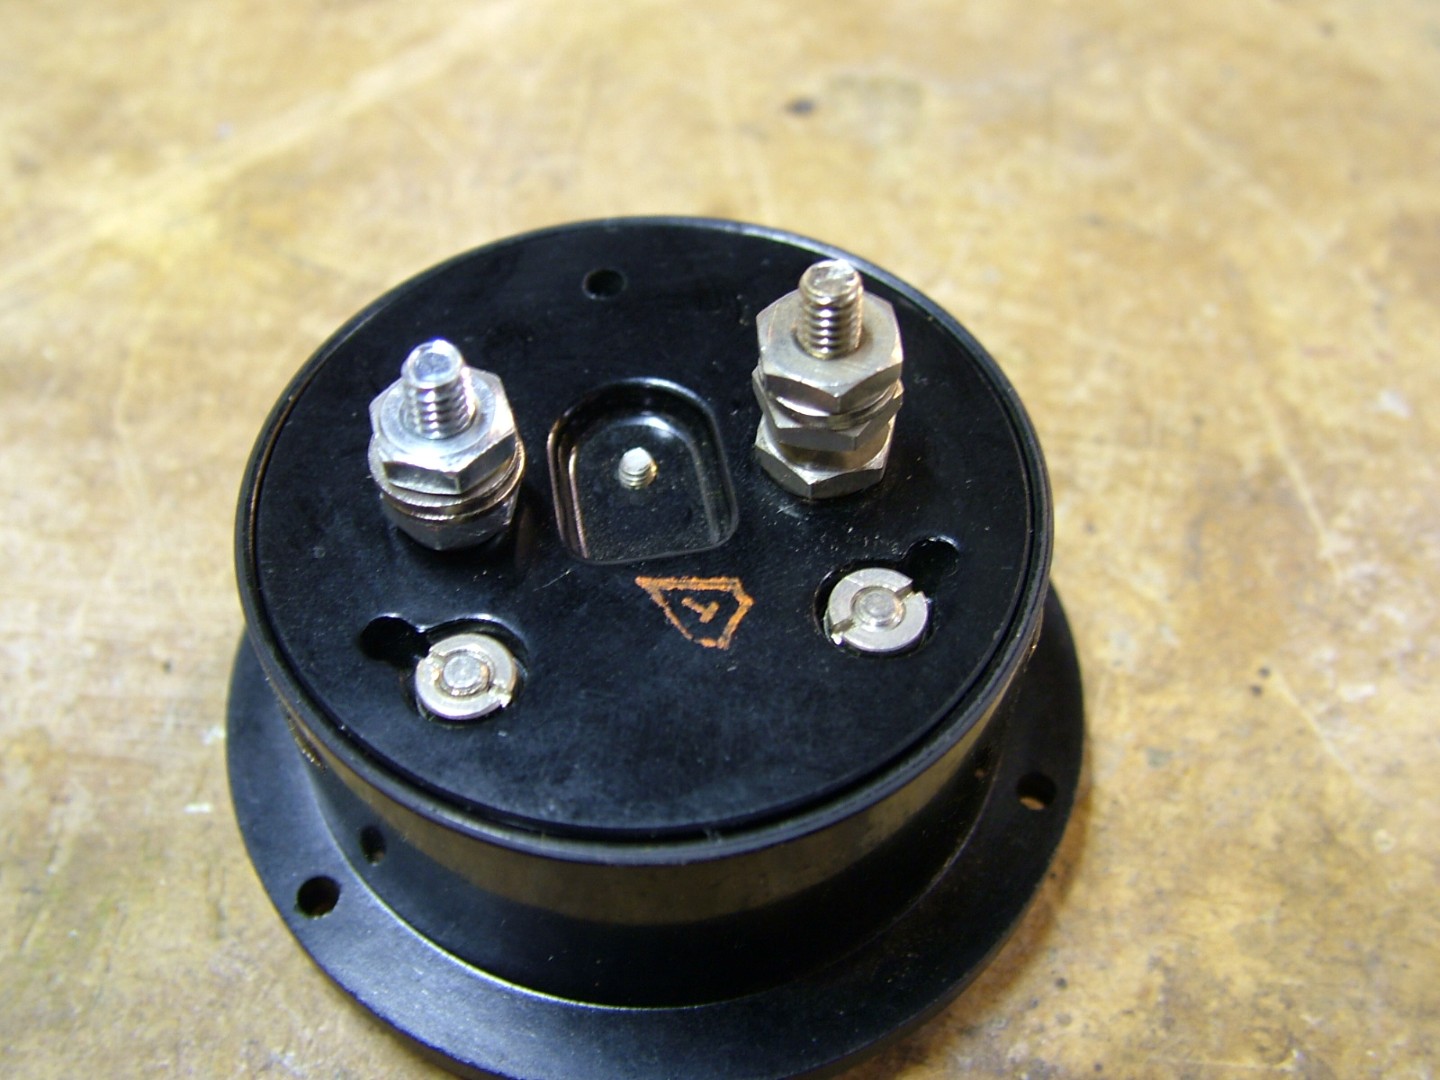
A good, classy panel meter will typically run you something on the order of $10-$25. For one component of a larger project, I dislike spending that much. Fortunately, while providing one of my friends moral support for spending $2,200 on a service monitor at Halted, I found this wonderful GE 1mA meter on the dollar rack. The problem is that it is missing the positive signal lug.
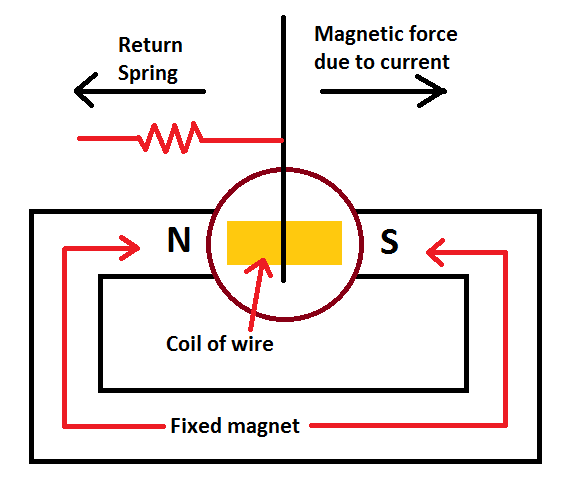
DC amp meters such as this one are relatively simple mechanisms. A spring holds a needle and a coil of wire at the zero reading on the meter. The coil of wire is sitting between the two poles of a fixed magnet such that when current flows through the meter, the coil generates an opposing magnetic field which causes the needle to deflect. In my diagram, I show the return spring as a linear spring, but they are usually coil springs, like you see in mechanical wrist watches.
So in theory, this should be a very simple repair. Take out the set screws holding the meter in its Bakelite shell, desolder the remnants of the old lug, solder a new 8-32 bolt in its place, and reassemble.
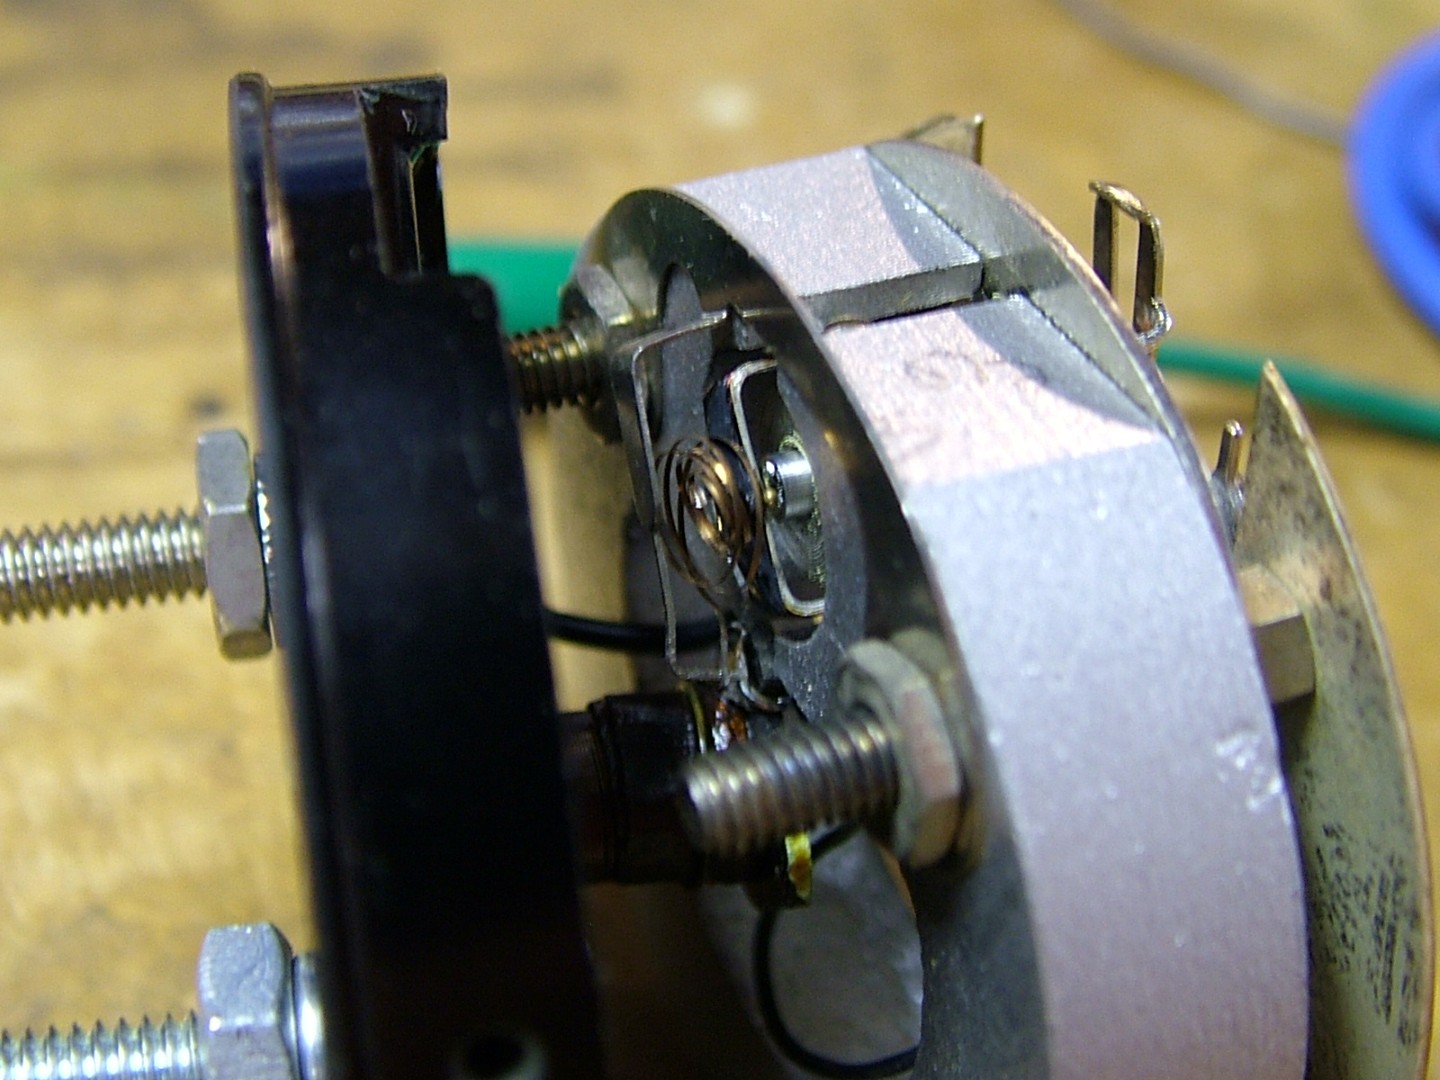
Very simple, until you manage to fumble your pair of tweezers, which then stick to the permanent magnet, and utterly mangle the return spring in the process. That mess of brass ribbon in there used to be a very carefully wound spiral…
Well damn. I can sit there and untangle the spring somewhat with a set of sharpened toothpicks, but I need some way to test the meter as I work on it.

I want you to understand how difficult it is working on electronics when you are visiting your parents and left all your test equipment in San Luis Obispo, spare for your trusty Fluke 27 and an SLA battery.
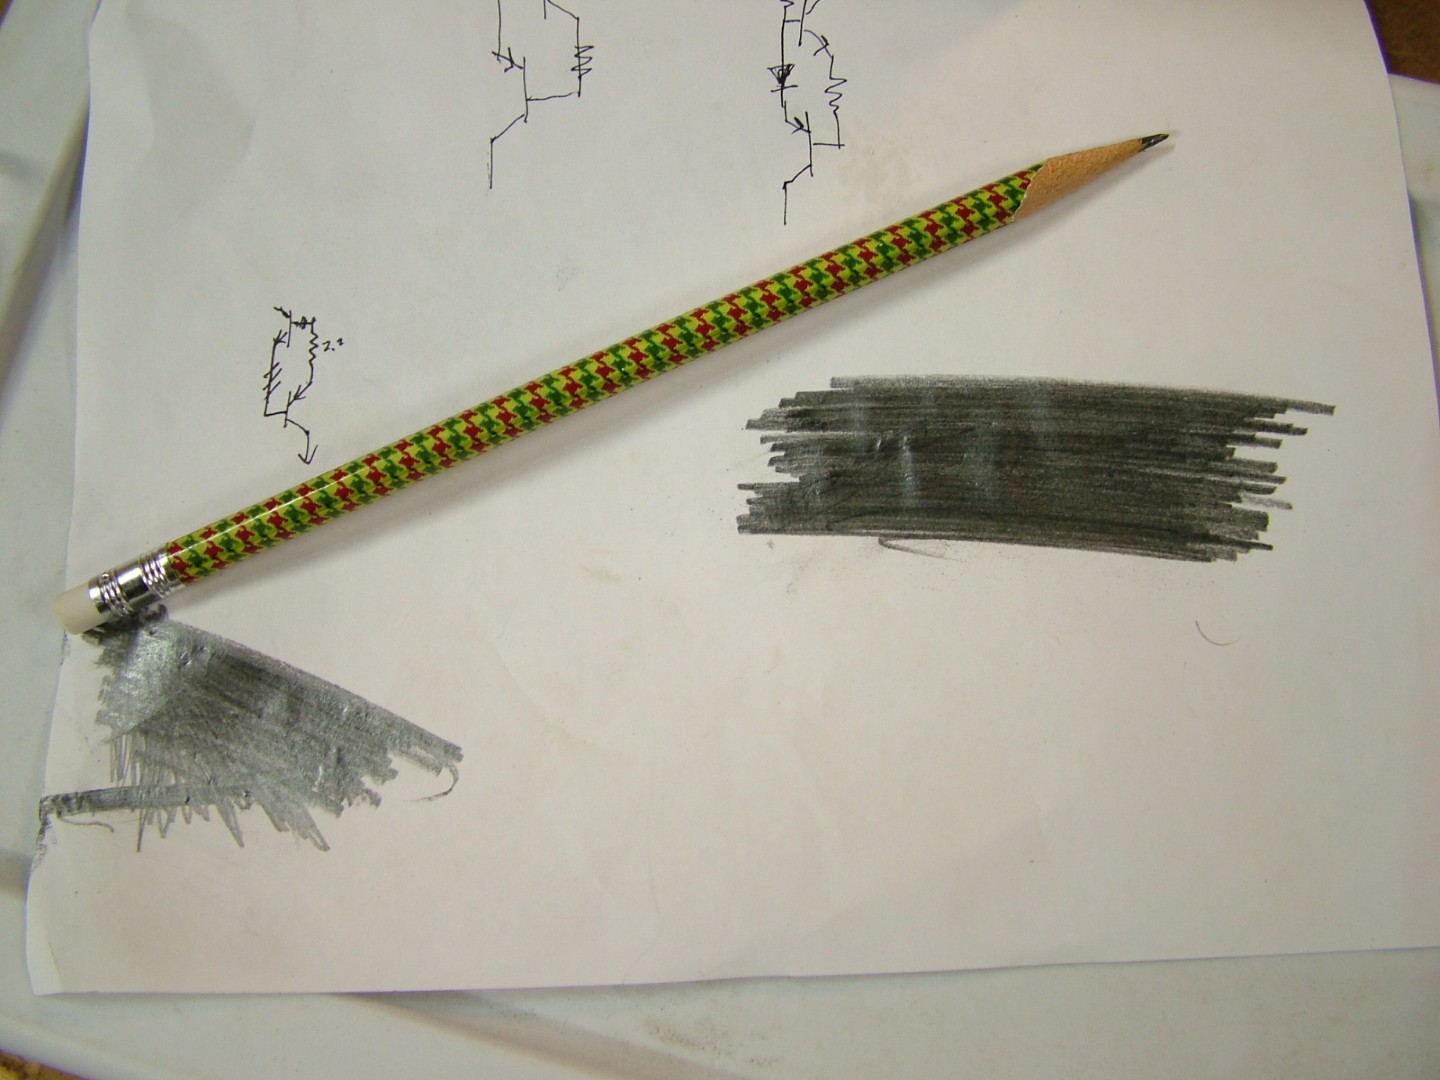
Yes. I improvised a 50kΩ variable resistor with a piece of paper and a graphite pencil. This is what happens when you leave all of your resistors in SLO. This was not particularly how I wanted this project to go, but I had already invested $1, half an hour, and a shred of my dignity taking the dang thing apart, so I sat there and kept poking at the return spring until I got it respectably close to its original 1mA full scale calibration.
In the end, it’s questionable if it really was worth my time and effort to save this meter, considering that you can get plastic white meters from China on eBay for $4. The only problem with them is that they just…. look like they’re from China. I’ll need to get this meter on my bench current reference before I’m willing to build it into my planned project for it, but I’m optimistic.