Tying It All Together into a Clock
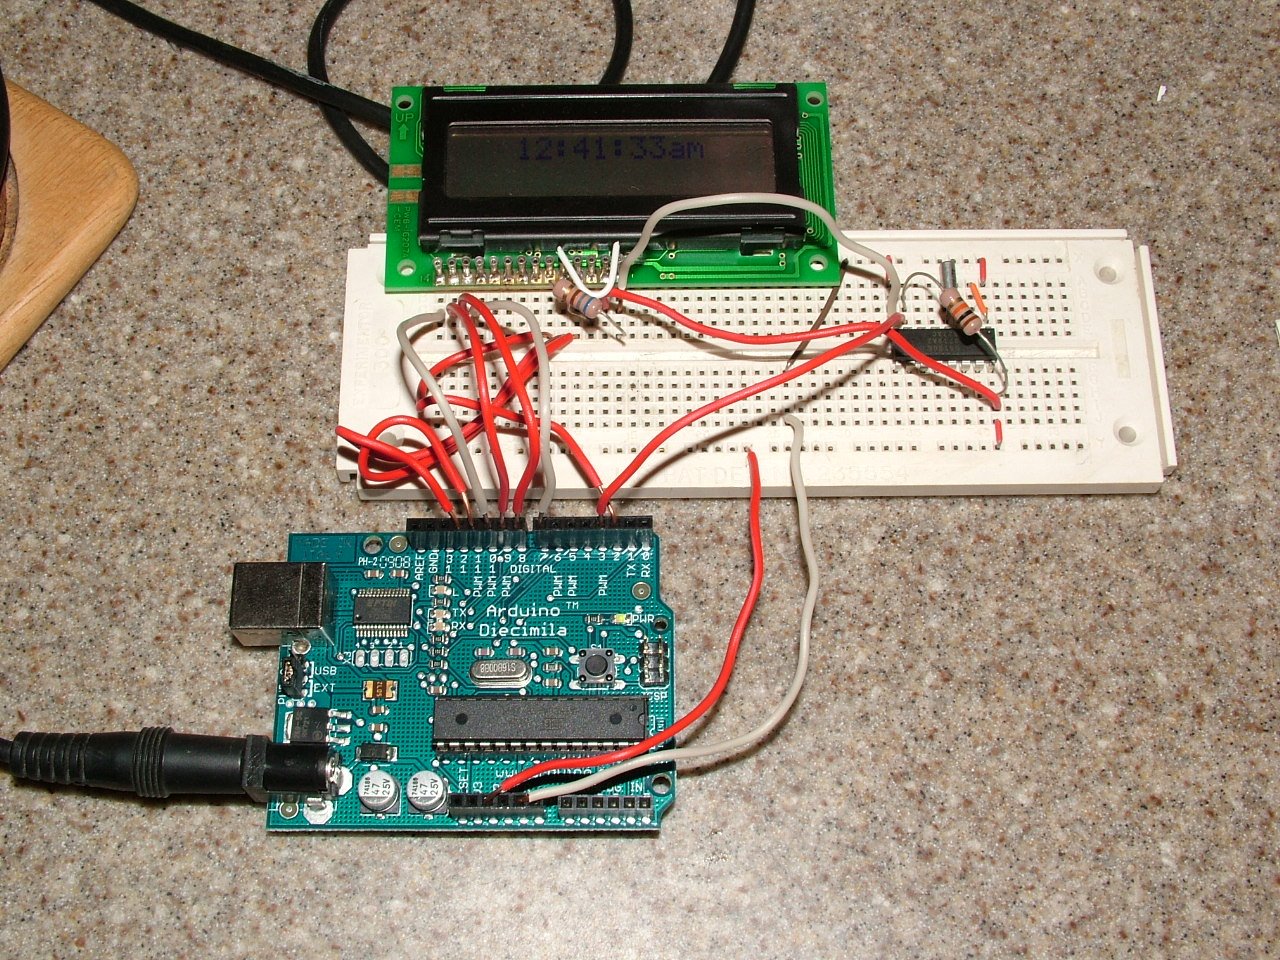
So after my last few posts, the next step in the project almost seems inevitable. Combine the Arduino, LCD, and DS1306+ chip together to make a clock. Of course Jeff was thoroughly involved with this project, as usual.
This project took us about 1.5-2 hours to figure out, with lots of totally random errors that we couldn’t explain.
So first off, Jeff wrote up the code to catch the interrupt every second and increment the seconds, minutes, hours, and am/pm correctly. This was pretty easy since I already figured out all the snafus with the DS1306+ chip. It wasn’t quite how I would have written it, but it worked on the first run anyways.
Meanwhile, I was working on trying to figure out the hardware. The LCD took up almost all the pins on the Arduino, not leaving me much to work with. We tried moving the Enable pin from 2 to 13 to free up one of the interrupt pins, but no dice. The library was good enough to not use magic values for each pin, but made many many grave assumptions about which order all of the pins are in, which we never managed to work around.
After hacking on that for quite some time, we dumped the LiquidCrystal library and went with the LCD4Bit library instead, since it only used a 4 bit bus to talk to the HD44780 and happened to not use pin 3, which is the second interrupt pin. Glancing over the documentation yet again screwed me, and I missed the needed grounding of the R/W pin until the very end. Other than that, it was an almost complete dropin replacement, with nice features like turning on the second line for us. We removed the DB0-DB3 lines, and moved forward.
Meanwhile, Jeff was trying to debug the rest of the program, using the serial port instead of the LCD to read the output. For some reason, calling the half-hacked LiquidCrystal init function in setup() killed the interrupt after the first trigger, even though lcd.init() was returning well before the first trigger. This was never explained and fixed when we switched over to LCD4Bit.
So now for the final moment. Bring together the last hour of hacking and frustration, and it won’t compile. Hex file …/clock.hex does not exist. And sure enough, it didn’t exist. We comment out lcd.init(), and it compiles fine again. Doesn’t make any sense. Eventually, I happened to delete some old commented out code at the bottom that Jeff was using as a reference, and it started compiling again. No explanation as to why. That code had been there the entire time.
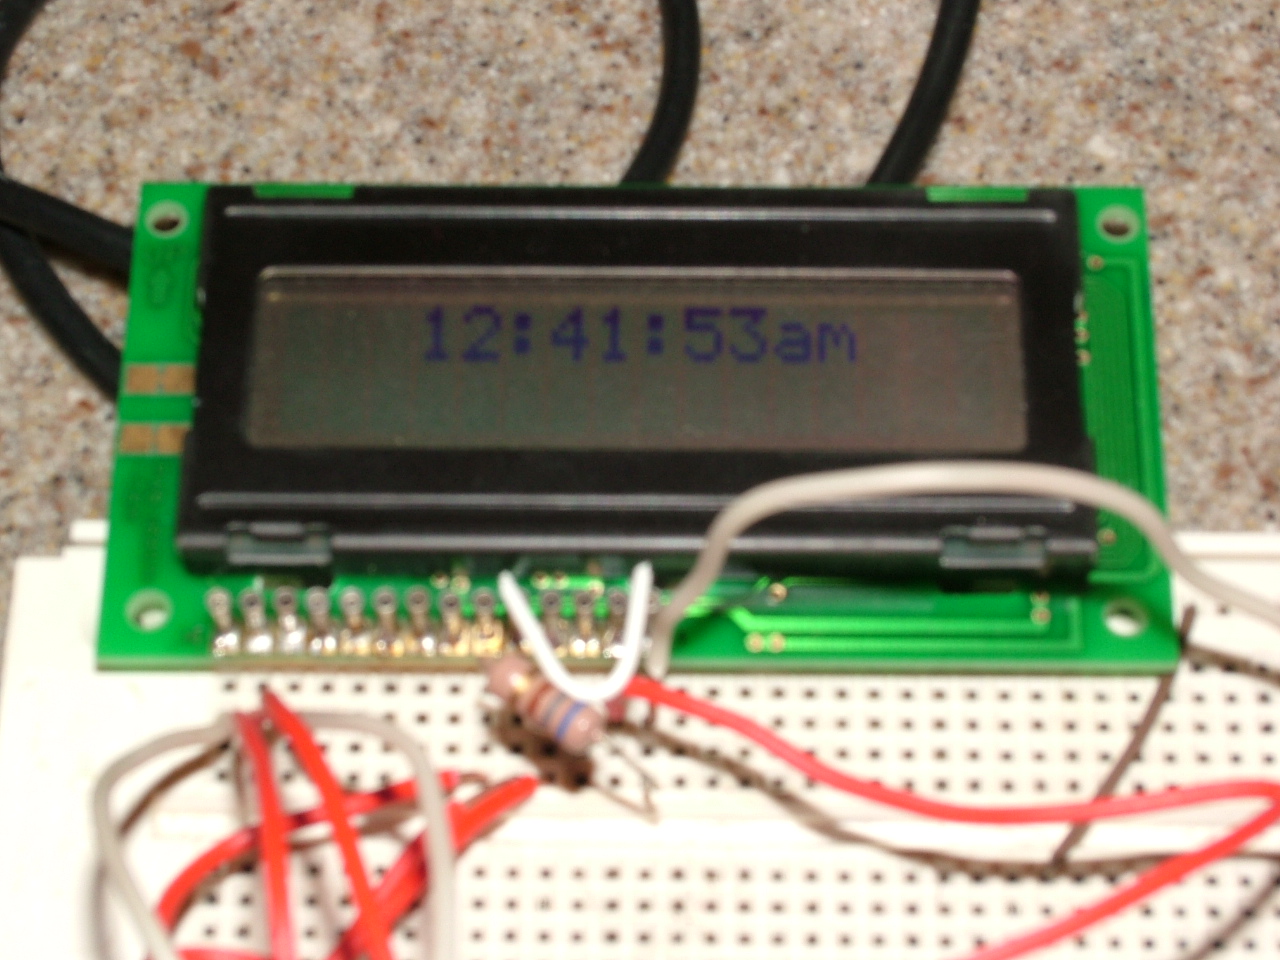
So now for the features I am most proud of: The clock is set over the serial line, so you have to plug this clock into your computer to set it (but what fun would a nerds clock be otherwise?). You just need to send it a string based on how much you want to move it forward. “hhmmmm” would move it forward 2 hours and 4 minutes. Sending an “s” just sets the seconds back to zero, as per Jeff’s idea. The display is a preallocated string initialized with “hh:mm:ssnm”. Each time there is an update to the time, each byte is set based on the value/10 or value%10, with ‘0’ added to it to create the correct ASCII code. I thought this was most clever.
I am planning on adding features to it, namely the ability to set it from the Arduino without a computer and USB cable. I have 4 I/O pins left, so it will be possible. Two of them also happen to be PWM pins, which would make running something like a buzzer off them really easy, so there may be alarms in its future.
And for your pained enjoyment, the code in its entirety. The 1Hz wave is connected to pin 3, Enable to 2, DB4-DB7 to pins 7-10, R/W to 11, and RS to 12. In the picture above, it is shown running off of a random 12V wall wart I had rolling around on my floor. Makes more sense than having a clock run off a computer all day.
Code for Arduino Clock:
#include <LCD4Bit.h>

LCD4Bit lcd = LCD4Bit(2);
volatile boolean updated = false; // Used to indicate a new second
char time[] = "hh:mm:ssnm"; // Each byte will be set to display the time correctly
int seconds = 0;
int minutes = 0;
int hours = 0;
int ampm = 0; // am = 0, pm = 1


void setup()
{
  Serial.begin(9600); // Needed for setting the time over USB
  lcd.init();
  attachInterrupt(1, blink, RISING);
}

void loop()
{
  if (Serial.available()) {  //set the time using the serial monitor
    int inputchar = Serial.read();
    switch (inputchar) {
      case 'm':  // Increment minutes
        minutes++;
        break;
      case 'M':  // Added too many minutes, subtract one
        minutes--;
        break;
      case 'h':
        hours++;
        break;
      case 'H':
        hours--;
        break;
      case 's':
        seconds = 0;
        break;
    }
  }
  if (updated) { // On a new second, add 1 to seconds, and do all the carrying. Update display.
    seconds = (seconds + 1) % 60;  //update the time when the crystal fires
    if (seconds == 0) minutes = (minutes + 1) % 60;
    if (seconds == 0 && minutes == 0) hours = (hours + 1) % 12;
    if (seconds == 0 && minutes == 0 && hours == 0) ampm = 1 - ampm;

    // Update the string "time"
    time[0] = (hours / 10)+'0';
    time[1] = (hours % 10)+'0';
    if (hours == 0){  // handle the special case of 12, represented as 0
      time[0] = '1';
      time[1] = '2';
    }
    time[3] = (minutes / 10)+'0';
    time[4] = (minutes % 10)+'0';
    time[6] = (seconds / 10)+'0';
    time[7] = (seconds % 10)+'0';
    if (ampm) time[8] = 'p' ;
    else time[8] = 'a';
    time[9] = 'm';

    lcd.clear();  // update the LCD
    lcd.printIn("   ");
    lcd.printIn(time);
    updated = false; // Reset the new second flag
  }
}

void blink()  // interrupt handler. Name left over from the AttachInterrupt example.
{
  updated = true;
}